


Thinking about replacing your front door? Whether you’re updating your home’s look or fixing a worn-out door, getting the right measurements is the first and most important step. Measuring a door might seem simple, but doing it the right way helps you avoid costly mistakes later.

In this guide, we’ll walk you through how to measure a door the correct way—whether it’s just the door panel, the full door frame, or even the rough opening inside the wall. We’ll also explain how to check the door swing, measure special setups like double doors or sidelights, and share helpful tips to make the process easier.
Understand Door Anatomy

Before you start measuring, it helps to know the basic parts of a door. This makes it easier to understand what you’re measuring and why it matters.
Here are a few key terms:
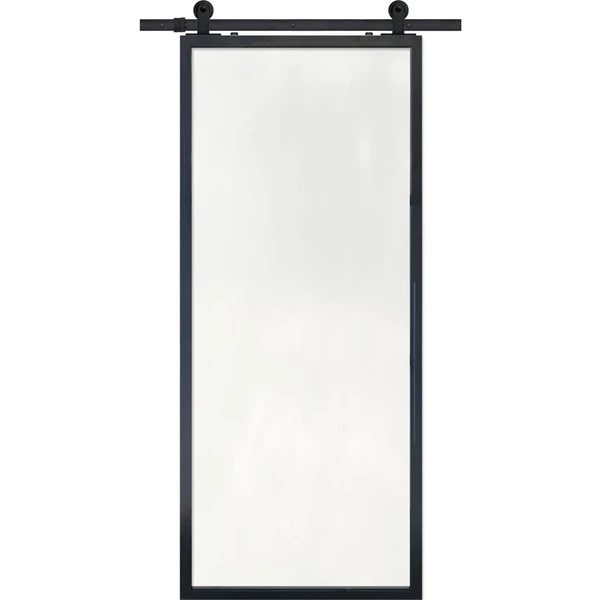
Door Panel: The part that swings open and closed—what most people think of as the “door.”
Frame: The structure around the panel that holds it in place, including the top and side jambs.
Jamb: The vertical sides of the frame that the door rests against.
Rough Opening: The hole in your wall where the entire door unit (frame and panel) fits.
Brickmould: A decorative exterior trim that covers the gap between the door frame and the wall.
Tools You’ll Need

Before you start measuring your door, make sure you have the right tools ready. Most of these are basic items you may already have at home.
Must-Have Tools:
Tape Measure – For all height, width, and depth measurements.
Pencil and Paper – To jot down your numbers and sketch notes.
For Measuring Full Frames or Rough Openings:
Utility Knife – Helps score the caulk or paint seal around the interior trim.
Pry Bar or Putty Knife – To gently remove the trim and access the frame.
Optional (But Helpful):
Level – To check if your door and frame are straight and square.
Camera or Smartphone – Take photos of your door and write measurements on them for easy reference.
Safety Gear – Gloves and safety glasses for trim removal or working near sharp edges.
Once you have these tools nearby, you’re ready to start measuring confidently.
How to Measure a Door Slab Only (If Frame Stays)
If you’re only replacing the door panel (also called the slab) and keeping the existing frame, the process is pretty simple. You can take all your measurements with the door still in place.
Here’s how to do it:
Step 1: Measure the Height

Use a tape measure to check the height of the door from top to bottom.
📏 Measure in three spots — left, center, and right.
✏️ Write down the tallest measurement. This helps account for any slight warping.
Step 2: Measure the Width

Now measure from one side of the door to the other.
📏 Again, measure at the top, middle, and bottom.
✏️ Use the widest measurement.
Step 3: Measure the Thickness

Open the door and measure the edge to find its thickness.
Most interior doors are 1⅜ inches thick
Most exterior doors are 1¾ inches thick
Common Standard Door Sizes
Exterior doors: usually 36″ wide × 80″ tall × 1¾” thick
Interior doors: typically 28″–36″ wide × 80″ tall × 1⅜” thick
When to Use This Method
This method is perfect if:
Your door frame and trim are in good shape
You’re just updating the door style or color
You want a quicker, easier replacement project
Make sure to double-check all measurements before you shop or order your new door. Even a small mistake can mean a poor fit.
How to Measure a Prehung Door or Entire Frame
If you’re replacing the entire door unit—including the frame, jambs, and sill—you’ll need a few extra steps to get accurate measurements. This is common when the frame is damaged, outdated, or you’re upgrading to a completely new style.
Step 1: Remove the Interior Trim

Start by gently taking off the trim (also called casing) from the inside of the door:
Use a utility knife to cut through any caulk or paint along the edges.
Slide a putty knife or pry bar behind the trim.
Carefully pry it away from the wall to expose the door frame.
💡 Tip: Go slow to avoid cracking the trim if you plan to reuse it.
Step 2: Measure the Frame Width

Measure from the outside edge of one side jamb to the outside edge of the other.
📏 Take measurements at the top, middle, and bottom.
✏️ Record the largest number.
Step 3: Measure the Frame Height

Measure from the top edge of the frame down to the bottom of the sill or subfloor.
📏 Again, take readings on the left, center, and right sides.
✏️ Write down the tallest measurement.
⚠️ Important: Don’t measure to the top of finished flooring like tile or carpet. Always measure to the actual subfloor for accuracy.
Step 4: Measure the Jamb Depth
This tells you how thick your wall is.
Measure from the interior edge of the jamb to the exterior edge.
Do not include any exterior trim (like brickmould or casing).
🧱 Common jamb depths:
4 9/16″
5 1/4″
6 9/16″
Knowing this depth ensures the new door frame will sit flush with your wall.
Measure the Rough Opening

Once you’ve measured the door and the frame, it’s time to check the rough opening—the framed hole inside the wall that holds the entire door unit. This step is important if you’re replacing the full door system or planning to adjust the size or style of your new door.
What’s the Difference?
The frame is the visible wood structure that surrounds your door panel.
The rough opening is the larger space inside the wall that the door frame fits into. You can only see it once the interior trim is removed.
How to Measure the Rough Opening
To get accurate rough opening dimensions:
Remove the interior trim (if you haven’t already).
Measure the width from stud to stud—not the frame.
📏 Take readings at the top, middle, and bottom.
✏️ Use the smallest of the three to ensure a proper fit.Measure the height from the subfloor (beneath the sill) up to the header (top framing beam).
📏 Measure at the left, center, and right.
✏️ Again, use the smallest value.
⚠️ Important: Measuring the rough opening helps make sure your new door unit doesn’t end up too tight or too loose in the wall.
Common Rough Opening Sizes
For a standard 36″ x 80″ exterior door, the rough opening is usually 38½” x 82½”
Sizes can vary, especially in older homes, so it’s always best to measure directly
Getting this measurement right ensures your new door fits perfectly and saves time during installation.
Check If the Door Is Square and Level
Before ordering or installing a new door, it’s a smart idea to check if your existing frame is square and level. Even small shifts over time can affect how a door opens and closes.
X-Pattern Measurement (Corner-to-Corner Test)

Use a tape measure to measure diagonally from the top left corner of the opening to the bottom right.
Then, measure from the top right corner to the bottom left.
Compare the two numbers.
📏 If the numbers are the same or very close, your opening is square.
🔧 If there’s a noticeable difference, your frame may be out of square.
Use a Level for Plumb and Level Checks

Place a level vertically on both side jambs to check if they’re plumb (perfectly straight up and down).
Then place the level horizontally across the top jamb to see if it’s level.
⚠️ Important: A frame that’s not square or level can cause sticking, gaps, or uneven swinging. Better to fix it now than deal with issues later.
What to Do If It’s Not Square
If your measurements show that the frame is out of square:
You may need to adjust the rough opening or shim the new frame during installation.
For major alignment issues, it’s best to talk to a professional installer.
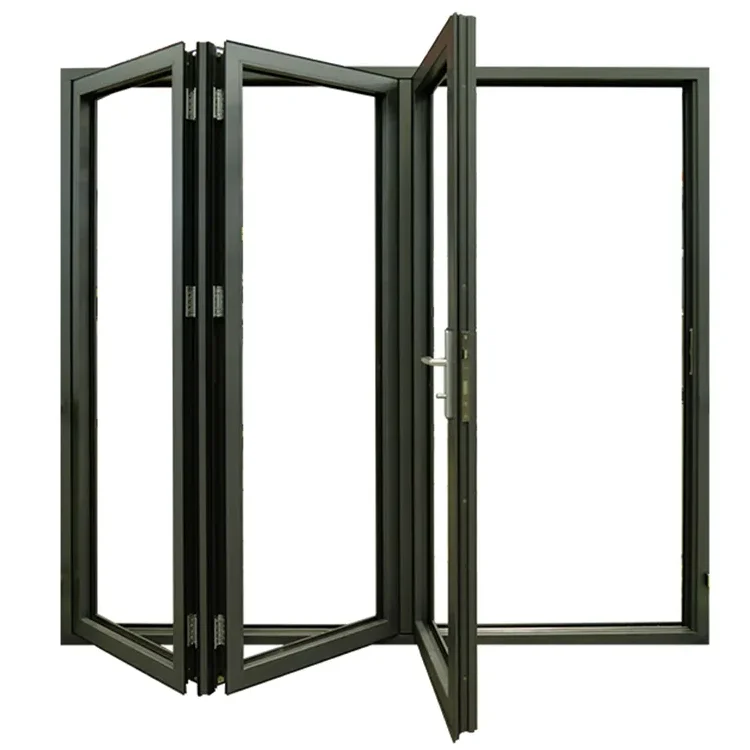
Measure Different Door Configurations

Not all front doors are built the same. While single doors are the most common, many homes have double doors, sidelights, or even a transom window above the door. Here’s how to measure each setup correctly.
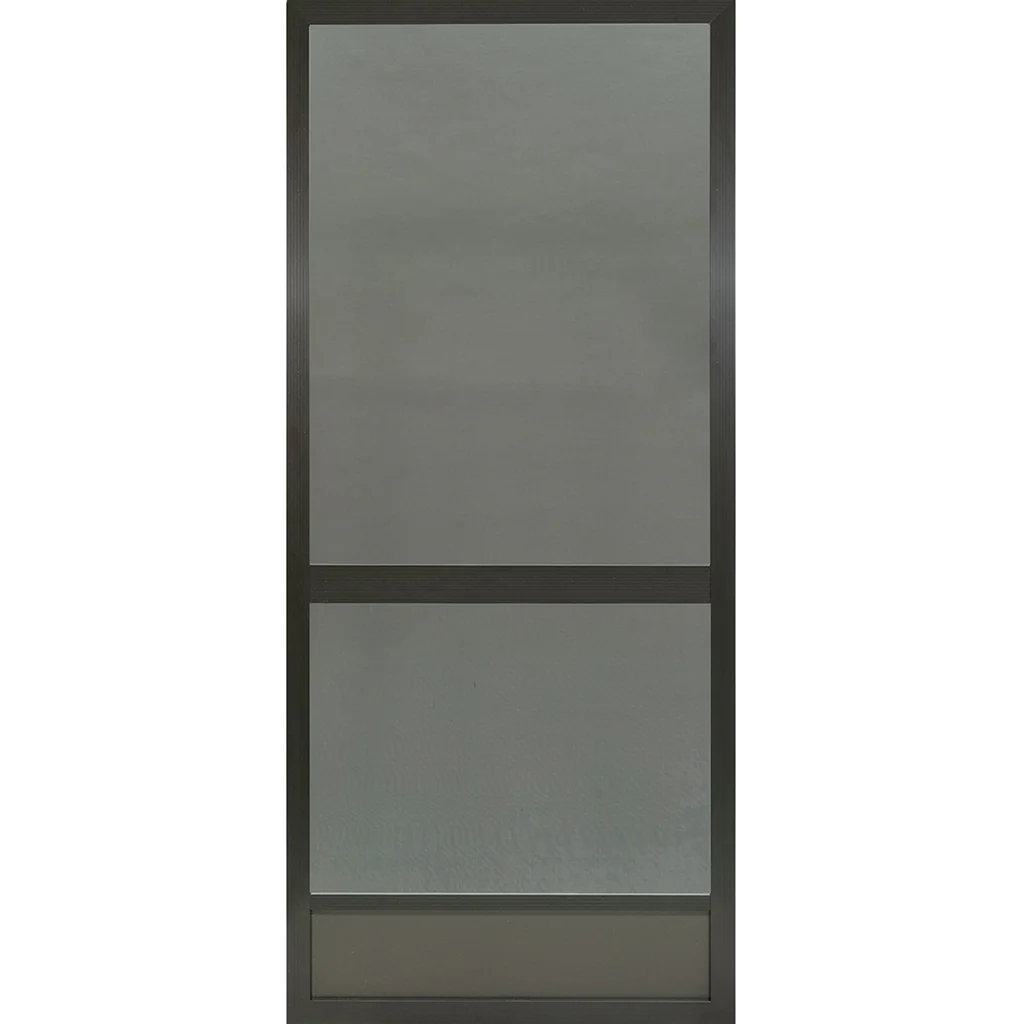
🔹 Single Door
This is the easiest type to measure.
Follow the standard steps: panel height, width, and thickness
Measure frame and rough opening if replacing the entire unit
Don’t forget to check jamb depth and door swing
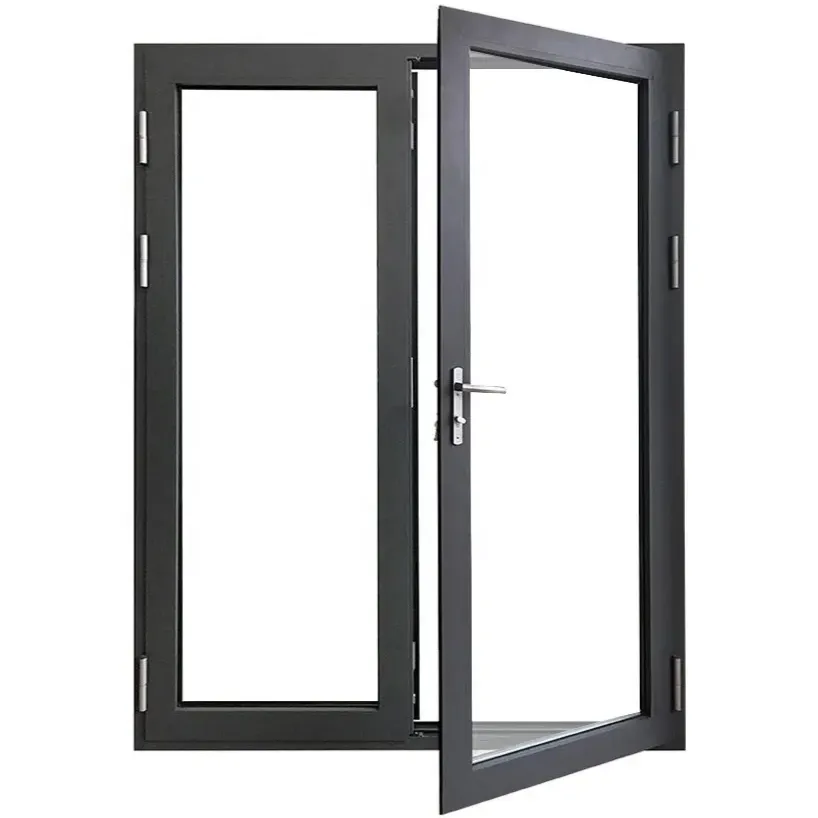
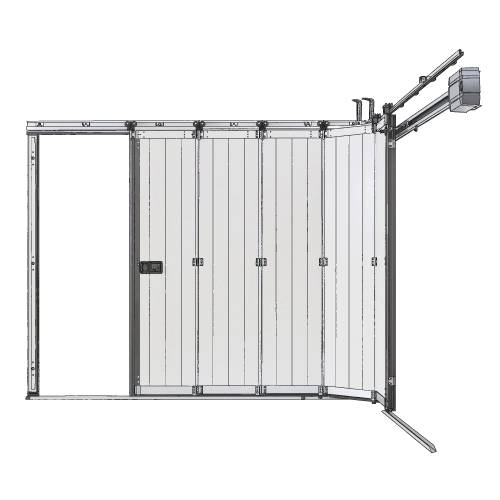
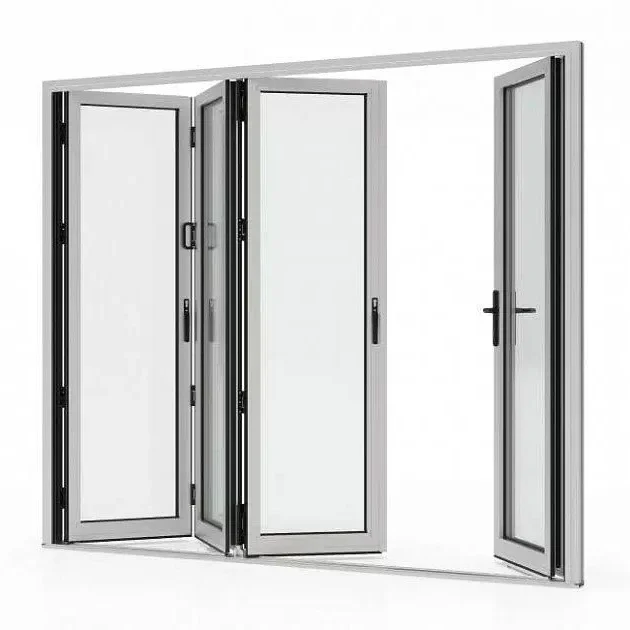
🔹 Double Doors
Double doors have two panels that meet in the middle.
Measure each panel separately for height, width, and thickness
Measure the combined width of both panels across the full opening
Check frame width, height, and rough opening just like you would for a single door
Don’t forget the jamb depth and swing direction for both sides
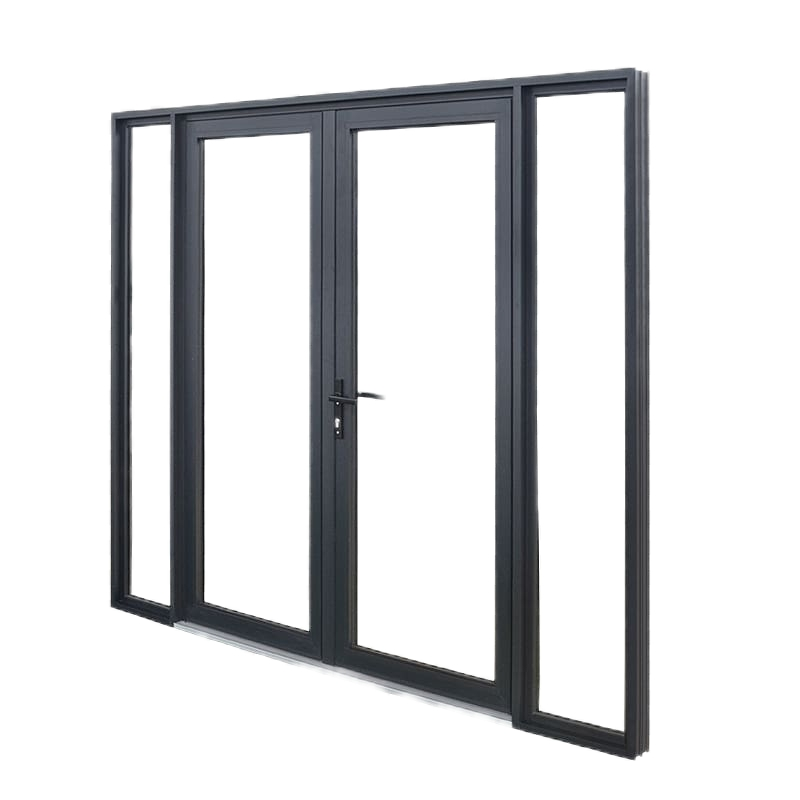
🔹 Door with Sidelights
Sidelights are narrow windows next to the door.
Measure the door panel and sidelights separately
For width: measure from the edge of one sidelight to the edge of the other
For height: measure door and sidelights from top to bottom
Include the sidelights when calculating total frame width and rough opening
🔹 Door with Transom
A transom is a window above the door.
Measure the height of the door panel and the transom window separately
Then measure the combined height of the full unit (door + transom)
Measure total frame height and rough opening accordingly
🔹 Double Doors with Sidelights or Transom
Measure each door panel, each sidelight, and the transom separately
Then calculate the total combined width and height of the full configuration
Be extra careful with rough opening measurements to make sure everything fits properly
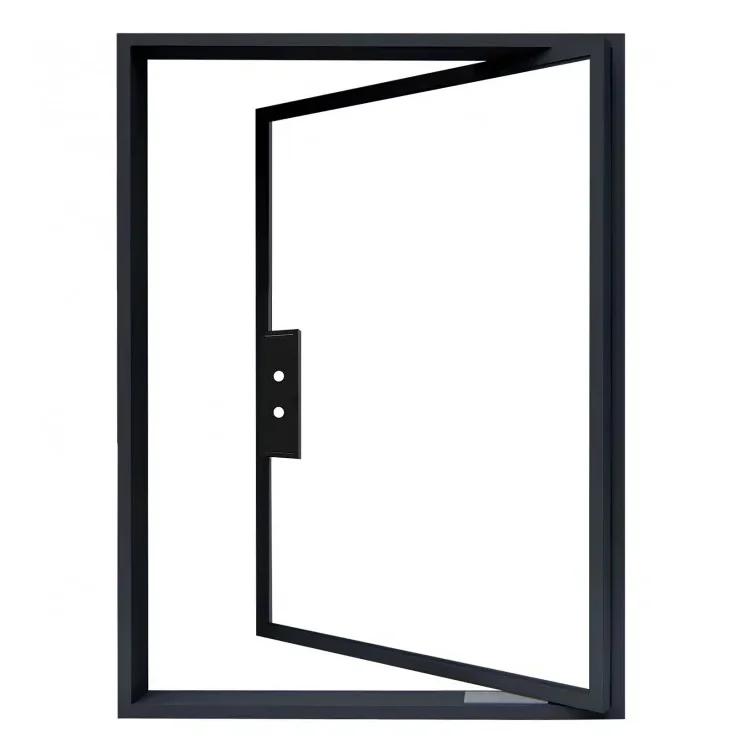
Determine Door Swing and Handing

Knowing your door’s swing and handing is just as important as getting the size right. This tells you how the door opens—and it helps you choose the correct replacement or hardware.
There are two common ways to figure it out:
🔹 Method 1: Back-to-Hinge (Most Common)
Stand with your back against the door hinges, inside the room or house.
Open the door.
If your right hand opens the door, it’s a right-hand door.
If your left hand opens the door, it’s a left-hand door.
If the door swings into the room, it’s an inswing.
If it swings out, it’s an outswing.
🔹 Method 2: Outside-Facing (Often Used for Exterior Doors)
Stand outside your home, facing the front door.
Look at where the handle and hinges are:
If the handle is on your right and the door swings in, it’s a right-hand inswing.
If the handle is on your left and the door swings in, it’s a left-hand inswing.
Reverse the swing direction if the door opens outward.
🧭 Swing vs. Handing — What’s the Difference?
Swing = The direction the door opens (inward or outward)
Handing = Which side the hinges and handle are on (left or right)
💡 Tip: Take a photo of the door while it’s open. It’s a quick way to double-check swing direction later or share with a contractor.
Optional: Create a Door Diagram

Want to make your door project even easier? Create a quick diagram of your door with all your key measurements. It’s a simple step that can save time—and prevent mistakes—when you’re shopping or talking to a contractor.
📝 How to Make a Door Diagram
Option 1: Take a clear photo of your door (inside and outside) and print it.
Option 2: Sketch a basic outline of your door on paper—no need to be fancy!
Then label your measurements right on the image, including:
Panel width and height
Door thickness
Frame width and height
Jamb depth
Door swing and handing
💡 Tip: Bring this diagram with you when visiting a showroom or getting a quote—it makes communication fast and crystal clear.
Tips & Common Mistakes

Measuring a door isn’t hard—but small mistakes can lead to big problems later. Here are a few helpful tips and common errors to avoid:
✅ Do:
Take your time and measure carefully at multiple points
Write everything down as you go—height, width, thickness, swing, and jamb depth
Use a level to check if the door or frame is straight
Double- (or triple-) check your notes before buying a new door
❌ Don’t:
Don’t measure over trim – Always remove or work around trim to get accurate frame and rough opening sizes.
Don’t forget the subfloor – Measure all the way down to the true bottom, not the surface flooring.
Don’t round up – If you’re between sizes, always round down. It’s easier to shim a slightly smaller door than to trim down one that’s too big.
Don’t ignore warping – Old doors or frames may be out of square. Always check with an X-measurement or level.
⚠️ A small mistake in measuring can lead to a door that sticks, gaps, or doesn’t fit at all. Accuracy matters!
FAQs