


Think of an egress window as more than just a window—it’s a built-in safety exit. Building codes require them in bedrooms, basements, and attics that people live or sleep in. The reason is simple: in an emergency like a fire, everyone inside needs a quick and clear way to get out, and firefighters need a safe way to get in.

To qualify as an egress window, it isn’t enough to just “look big.” It must meet strict rules for size, sill height, and how it opens. These standards make sure the opening is wide and tall enough for an adult to climb through without tools, keys, or special strength. In other words, an egress window isn’t just about passing inspection—it’s about protecting lives.
Code Essentials (IRC) — the Non-Negotiables

When it comes to egress windows, building codes aren’t suggestions—they’re strict safety requirements. The International Residential Code (IRC) sets the baseline, and local building departments enforce or adjust those rules. If you’re planning to install or replace an egress window, here are the non-negotiables you need to know:
Where they’re required
Every bedroom, habitable attic, and most basements must have at least one emergency escape and rescue opening. This ensures anyone inside always has a safe way out—and emergency crews have a safe way in.
Minimum size standards

Net clear opening: At least 5.7 sq. ft. (5.0 sq. ft. if the window is at or below ground level).
Opening height: At least 24 inches.
Opening width: At least 20 inches.
Sill height: The bottom of the opening can’t be more than 44 inches above the floor.
👉 Important: Width and height numbers alone don’t guarantee you’ll meet the total 5.7 sq. ft.—what matters is the actual clear space once the window is open.
Window wells (for below-grade installs)
If your window sits below ground, you’ll also need a code-compliant window well:
Size: At least 9 sq. ft. of clear floor area.
Projection & width: At least 36 inches in both directions.
Depth: Any well deeper than 44 inches must include a permanently attached ladder or steps. The ladder needs rungs at least 12 inches wide, 3–6 inches from the wall, and spaced no more than 18 inches apart.
Operability rules
An egress window must open easily from the inside—no keys, tools, or special force required. If bars, grilles, or screens are installed, they must be removable from the inside without delay.
Pro tip: While the IRC sets national standards, many cities and counties make their own amendments. Always check with your local building department before buying or installing to make sure your window passes inspection.
Types of Egress Windows — Pros, Cons, Best Uses
Not all egress windows are built the same. The right choice depends on your basement design, wall space, and window well setup. Here are the most common types, with their advantages and drawbacks:
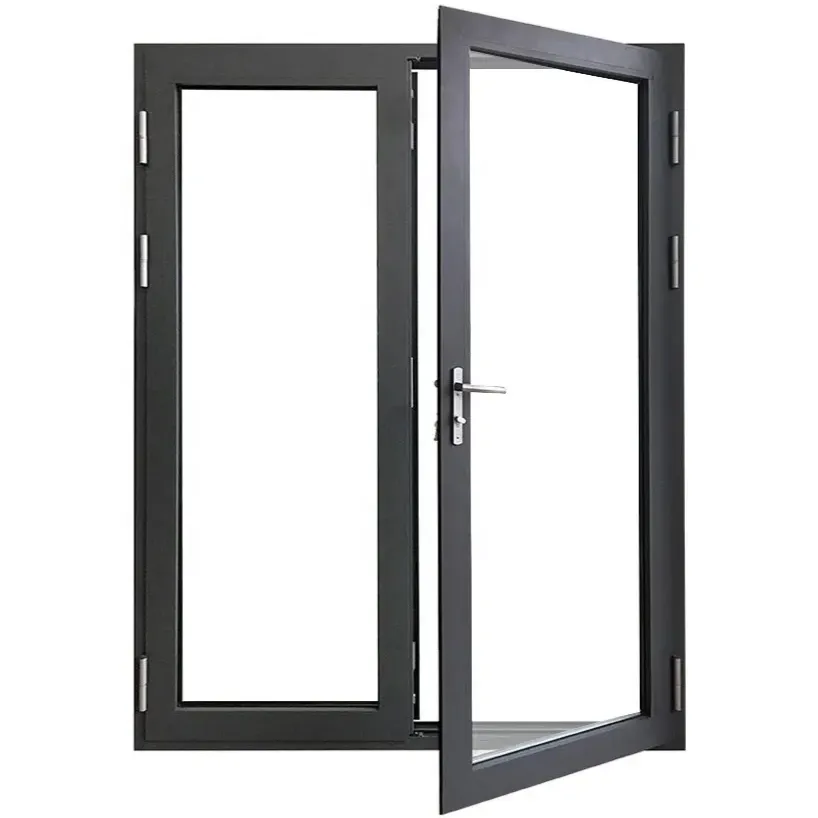
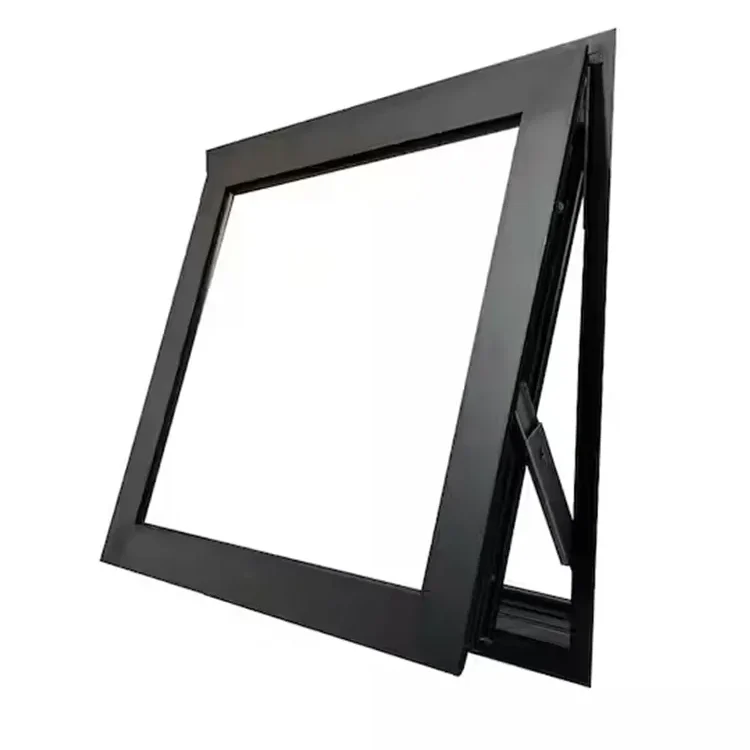
Casement (out-swing)

Casement windows are a favorite for egress because they swing open like a door, creating a large clear opening even with a smaller frame. This makes them ideal for tight window wells or smaller wall openings. The only catch? You’ll need enough exterior space for the sash to swing fully open.
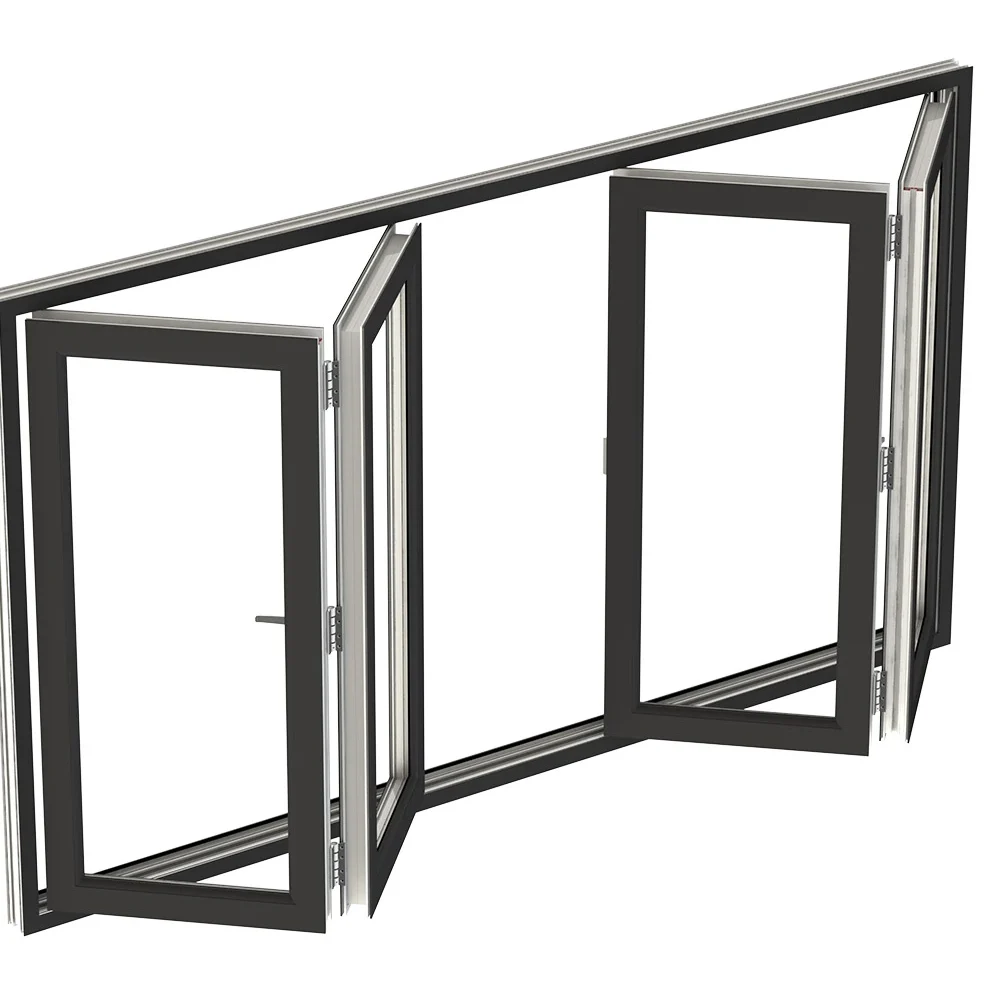
In-swing casement

If your well or yard doesn’t allow for an outward swing, an in-swing casement is a smart option. It opens into the room, clearing obstructions on the outside. Just be mindful of interior space—you’ll need enough clearance inside, and strong hardware to support the weight of the sash.
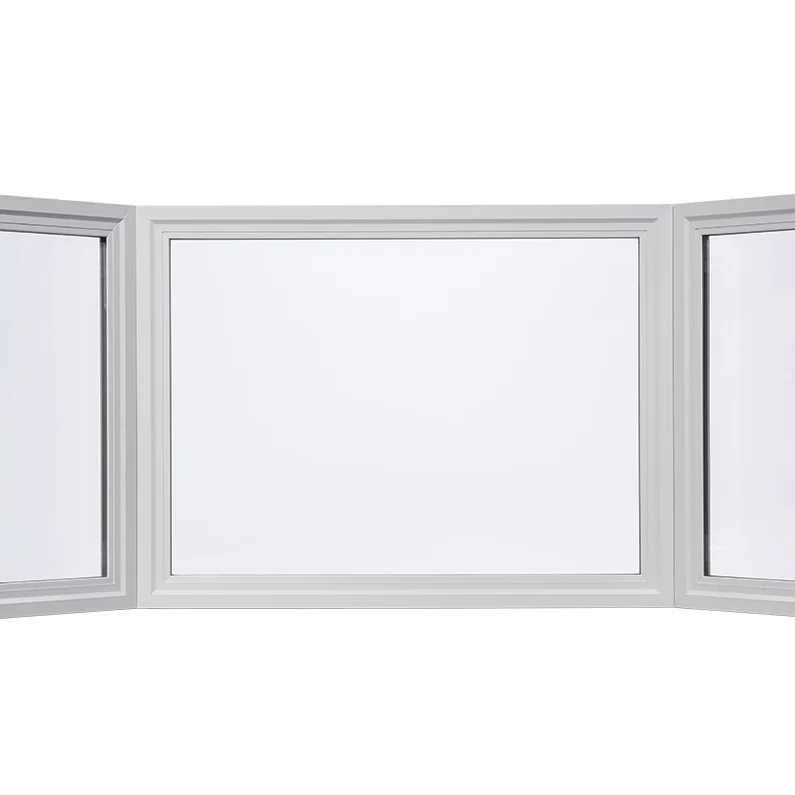
Slider (horizontal)
Sliding windows are easy to use and widely available. They open side to side, which feels intuitive for many homeowners. However, to meet code, they usually need a larger rough opening than casements. If your wall cutout is wide enough, sliders can be a practical and cost-friendly option.
Double-hung

Double-hung windows (with two sashes that move up and down) are common in homes, but they’re not the best fit for egress. Unless they’re very large, they often fail to meet the net clear opening requirement. Most experts recommend avoiding them for basements, unless you have the space to size them up significantly.
Sizing Made Simple (Net Clear Opening Math)

One of the biggest mistakes homeowners make with egress windows is confusing frame size with the actual clear opening. The code doesn’t care how big the frame looks—it only counts the usable space once the window is fully open. That’s called the net clear opening.
Here’s how to break it down:
Frame size is the total outside measurement of the window unit.
Sash size is the movable part of the window.
Net opening is the real, passable space when the sash is open. This is the number inspectors check.
The good news? You don’t have to crunch all the math yourself. Most window manufacturers publish “egress compliant” tables that tell you which models and sizes meet the code. All you need to do is match your choice to one of those listed.
Quick workflow for sizing success:
Pick your window type (casement, slider, in-swing).
Check the manufacturer’s egress size chart to confirm net clear opening.
Verify sill height—the bottom must be 44 inches or less above the floor.
Confirm window well size (and add a ladder if the well is deeper than 44 inches).
By following this simple checklist, you’ll avoid costly mistakes and make sure your new window passes inspection the first time.
Costs, Permits & ROI

Installing an egress window is more than just adding light—it’s an investment in safety, comfort, and even home value. But before you start shopping, it’s smart to understand the costs and rules involved.
What it costs
On average, homeowners spend between $2,600 and $5,800 per window, with most projects landing in the $3,500–$4,000 range. The final price depends on several factors:
Digging and excavation for basements below grade
Cutting through foundation walls
Adding a window well and liner
Installing drainage systems to prevent leaks
Keep in mind, a window well alone can add $1,000–$2,000 to the total.
Permits are a must
Because egress windows are tied to building safety codes, nearly every jurisdiction requires a building permit. This ensures the window meets International Residential Code (IRC) standards and passes inspection. Skipping the permit can cost you far more later, especially if you plan to sell your home.
DIY vs. hiring a pro
Some parts of the project—like interior trim, finishing, or light carpentry—may be manageable for experienced DIYers. But the heavy lifting, such as foundation cutting, excavation, waterproofing, and drainage, carries significant risks. Many homeowners save time, stress, and long-term repair costs by hiring a licensed contractor who knows local code inside and out.
Return on investment (ROI)
Beyond safety, an egress window can boost your home’s livable space. Adding a code-compliant bedroom in the basement often increases resale value, sometimes by more than the cost of the project itself. Think of it as both a safety upgrade and a smart equity move.
Buying Checklist (Printable)

Before you sign off on an egress window purchase, make sure you’ve covered all the essentials. A quick checklist can save you from costly mistakes and ensure your project passes inspection the first time. Here’s what to look for:
- ✅ IRC + local code compliance — Confirm the window meets International Residential Code (IRC) standards and any local amendments. Double-check clear opening size, sill height, and window type.
- ✅ Well size & ladder — If your window is below grade, the well must meet code. Add a ladder or steps if the depth is greater than 44 inches.
- ✅ Drainage plan — Proper drainage is critical. A gravel base and drain system protect your basement from water leaks and flooding.
- ✅ Manufacturer egress certification — Use only windows listed as “egress compliant” by the manufacturer to avoid sizing issues.
- ✅ Energy efficiency & safety glass — Look for Low-E coatings and proper U-value ratings for your climate. Some areas also require tempered glass for safety.
- ✅ Warranty & waterproofing — Review warranty details for the frame, hardware, and seals. Ask about flashing and waterproofing steps to ensure long-term performance.
- ✅ Permits & inspections — Confirm the scope of the required permit, and note key inspection points. Make sure you have final sign-off from your building department.
With this list in hand, you’ll have peace of mind knowing your egress window is safe, code-compliant, and built to last.
Installation Overview (What Good Looks Like)

Installing an egress window is a major project, but when done correctly, it creates a safe, code-compliant escape route while adding natural light and comfort. Here’s what a proper installation should include:
Plan and mark the escape path
Before any digging, decide exactly where the window and window well will go. The escape path should be clear and practical. Always contact utility services to check for underground lines before excavation begins.Excavate the window well
Dig out a well that meets code dimensions. Add a gravel base and install a drain system so water flows away from your foundation, reducing the risk of leaks or flooding.Cut through the foundation wall
A section of the foundation is carefully cut with professional tools. A buck frame is installed to reinforce the opening, and proper flashing is added to seal against water intrusion.Set and secure the window
The window is placed into the opening, insulated around the frame, and sealed tightly. This step ensures both waterproofing and energy efficiency.Install the well and ladder
The window well is positioned firmly against the foundation. If the well is deeper than 44 inches, a code-compliant ladder or steps are added. Backfilling with drainage aggregate keeps water moving away from the structure.Test and inspect
The window must open and close smoothly and meet the required net clear opening size. At this stage, inspectors will check compliance with IRC and local building codes.
A thorough installation not only guarantees code approval but also ensures safety, durability, and peace of mind. Skipping steps or cutting corners can lead to leaks, failed inspections, or worse—a window that doesn’t function when it’s needed most.
Energy, Comfort & Materials
Choosing the right egress window isn’t just about meeting code—it’s also about comfort, efficiency, and style. The window frame material and glass package you select can make a big difference in how the window performs over time.
Frame options
Vinyl: Affordable, low-maintenance, and widely available. Vinyl frames resist rot and don’t need painting, making them a budget-friendly pick.
Fiberglass or composite: Stronger and more durable than vinyl, with excellent energy efficiency. These frames hold up well to temperature swings and moisture, making them a long-term investment.
Clad wood: Offers the warmth and beauty of wood on the inside with a protective exterior cladding, usually aluminum or vinyl, for durability. This is a great option if aesthetics matter most.
Glass choices
Energy-efficient glazing adds comfort and lowers utility bills. Look for:
Low-E coatings that reflect heat in summer and retain warmth in winter.
Argon-filled panes for added insulation.
Double- or triple-pane options depending on your climate zone.
By balancing frame material and glazing, you can create a window that not only keeps you safe but also makes your basement or attic more comfortable year-round. The right choice helps regulate indoor temperatures, reduces drafts, and adds long-term value to your home.
Common Fails (Avoid These)

Even with the best intentions, homeowners often make simple mistakes that can turn an egress window project into a costly headache. Here are the most common fails to watch out for—and how to sidestep them:
- Buying by frame size instead of net clear opening
The building code doesn’t care about frame dimensions. What matters is the usable space once the window is open. Always check the net clear opening specs, not just the rough size on the box. - Setting the sill too high
If the bottom of the window is more than 44 inches from the floor, it fails code and creates a dangerous climb for anyone trying to escape. Measure carefully before cutting. - Installing an undersized well (or skipping the ladder)
A window well must provide at least 9 square feet of clear floor area. If the well is deeper than 44 inches, you’ll also need a permanently attached ladder or steps. Forgetting this detail is one of the fastest ways to fail inspection. - Ignoring drainage
Without proper drainage—like gravel, drain tile, or a sump connection—window wells can turn into mini swimming pools. Water intrusion leads to leaks, mold, and even frost heave against your foundation. - Creating obstructions
Cranks, bars, grilles, or poorly placed wells can choke the opening and make it impossible for someone to get out quickly. Code requires that the window opens without keys or tools and that barriers are easily removable.
Avoiding these common pitfalls will not only keep your project code-compliant but also ensure the window functions as intended—providing safe, reliable escape in an emergency.
Casement vs. Slider vs. In-Swing — Decision Guide
| Criteria | Casement (Out-swing) | In-swing Casement | Slider (Horizontal) |
|---|---|---|---|
| Best for | Tight wells; small openings | No exterior clearance; obstructions outside | Wide wall openings; modern look |
| Clearance needs | Needs exterior swing space | Needs interior swing space | No swing space needed |
| Net clear opening vs. frame | High net opening with smaller frames | High net opening; hardware must be robust | Lower net opening; needs larger rough opening |
| Meeting code (ease) | Easiest to hit egress sizes | Easy if interior clearance exists | Moderate—verify manufacturer egress tables |
| Window well compatibility | Great for narrow wells (sash swings out) | Ideal when wells are very tight outside | Works best with wider wells/openings |
| Retrofit suitability | Good; minimal rough opening growth | Strong for existing openings using kit frames | Fair; may require widening the cutout |
| Emergency operation | Single latch; very quick egress | Quick egress; check swing path indoors | Simple slide; ensure sash opens fully |
| Cost (relative) | $–$$ (hardware varies) | $$ (specialized hardware/hinges) | $–$$ (common, wide availability) |
| Maintenance | Lubricate hinges/crank; check seals | Inspect interior hinges/arms; seals | Keep tracks clean; check rollers & locks |
| Common pitfalls | Not enough exterior swing clearance | Insufficient interior clearance; weak hardware | Fails net opening without wider rough opening |
| Bottom line | Most flexible for meeting egress size in tight spaces | Best where outside clearance is limited; great for retrofits | Great for wide spaces and clean lines—verify net clear |
Local Rules & Exceptions

While the International Residential Code (IRC) sets the baseline for egress window requirements, local building departments often add their own twists. Some jurisdictions allow reduced minimums for existing openings, such as a 4.0 sq. ft. net clear opening with a minimum 22-inch height in certain retrofit projects. These exceptions are designed to make upgrades more practical in older homes where cutting larger openings may not be feasible.
The key takeaway: never assume the national code alone applies. Always check with your local building department before buying or installing an egress window. A quick call can save you from failed inspections and costly do-overs.
Contractor Vetting & Timeline
Installing an egress window is a specialized job that blends excavation, masonry, waterproofing, and carpentry. Hiring the right contractor can make the difference between a smooth project and a leaky headache. Here’s what to look for:
What to ask a contractor:
Do they know IRC Section R310 and your local amendments?
Do they have proven experience cutting into foundations safely?
How do they handle waterproofing and drainage?
Do they provide a warranty on drainage and sealing work?
What timeline to expect:
A typical project involves several milestones:
Permit application and plan review by your local authority.
Excavation and foundation opening, with inspections as required.
Final inspection and approval once the window, well, and drainage are in place.
Most projects can be completed in a few days once work begins, but factor in extra time for permits and inspections, which can add a few weeks depending on your city.
Budgeting Examples & Add-Ons
When planning your egress window project, remember that the base window and installation are just the starting point. Additional elements can add to both the cost and the long-term value of the project. Here’s what typically goes into the budget:
Base window + installation: The core cost, usually in the $2,600–$5,800 range depending on size and location.
Window well and liner: Essential for below-grade installs, often adds $1,000–$2,000.
Ladder or steps: Required if the well is deeper than 44 inches.
Drain tie-in: Connecting the well to a sump pump or drain tile can add labor and materials.
Interior finishes: Drywall, trim, and paint inside the room for a polished look.
Exterior grading: Adjusting soil and landscaping around the well to ensure proper drainage.
Altogether, these add-ons bring most projects into the $3,500–$4,000 average range, right in line with national estimates. Thinking ahead about finishes and drainage will help you set a realistic budget and avoid surprises.
Maintenance & Safety

Once your egress window is in place, a little routine care will keep it safe and functional for years to come. Homeowner guides recommend a quarterly checkup:
Test full open/close: Make sure the sash operates smoothly without sticking.
Clear debris from the well: Leaves, dirt, and snow can block drainage and restrict escape.
Check ladder or steps: Ensure they are secure and not rusting or loose.
Inspect seals and caulking: Look for cracks or gaps that could let in water.
Examine the well drain: Confirm water is flowing away from the foundation.
These simple steps take just a few minutes but help protect your investment, maintain energy efficiency, and most importantly—ensure the window works when you need it most.
Ready to Get Started?

An egress window isn’t just a code requirement—it’s peace of mind for your family and added value for your home. Whether you’re planning a basement bedroom, finishing an attic, or upgrading an older space, choosing the right window and installing it properly makes all the difference.
Contact us today to discuss your project. Our team can guide you through code compliance, sizing, installation, and finishing touches—so you get a safe, beautiful, and worry-free result.
FAQs About Egress Windows
How to choose an egress window?
Pick a style that suits your space (casement, slider, in-swing), confirm the net clear opening meets code, check sill height (≤44 in.), and ensure you have the needed room, window well, and hardware to make it work safely.
Is an egress window a good investment?
Yes—beyond safety, it adds usable living space (like a bedroom or finished basement), improves resale value, brings in natural light/ventilation, and in many cases the cost is recouped in value.
What is the cheapest type of egress window?
The most affordable options tend to be basic single-hung or simpler fixed casement windows with minimal hardware and standard glass; avoid premium framing or complex styles to save cost.
What are the rules for egress windows?
Egress windows must meet size rules (usually at least 5.7 sq ft net opening, or 5.0 sq ft at or below grade), have minimum width/height (e.g. 20 in. width × 24 in. height), sill height ≤44 in., open without tools/keys, and include a window well (if below grade) with ladder if deep. Local codes may add extra requirements.


