


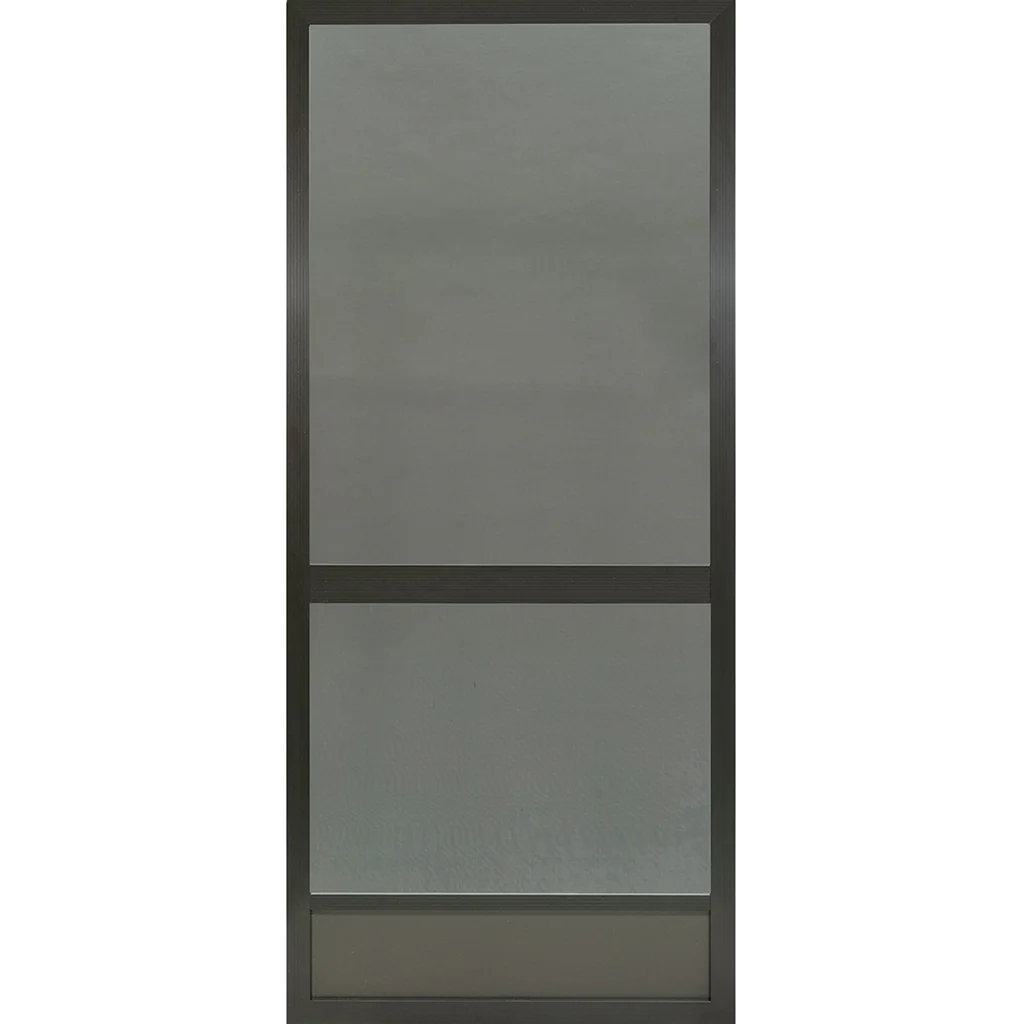


Window screens do more than keep bugs out—they help fresh air flow in while filtering dust and pollen. But when screens get dirty, they block sunlight, restrict airflow, and allow allergens to build up in your home. Over time, grime can also weaken the mesh and shorten its lifespan.

That’s why regular cleaning is so important. For most homes, giving screens a good wash twice a year—in spring and fall—is ideal. If you live near a busy road, in a city, or in a dusty area, you may need to clean them more often. Keeping your window screens clear not only improves your view but also helps create a healthier, fresher indoor environment.
Tools & Supplies Needed

Before you start cleaning, gather the right tools. Having everything ready makes the job quicker and keeps you from running back and forth.
-
Soft bristle brush – Perfect for loosening dirt and dust without damaging the screen mesh.
-
Bucket with mild soap or vinegar solution – Gentle cleaners that cut through grime while being safe for your screens.
-
Garden hose with spray nozzle – Or use a showerhead or any gentle water source to rinse without high pressure that could tear the mesh.
-
Microfiber cloths or towels – Great for wiping frames and drying screens without leaving lint behind.
-
Vacuum with brush attachment (optional) – Handy for a quick clean or removing heavy dust before washing.
-
Safety gear – Gloves protect your hands from sharp edges, while safety glasses keep splashes out of your eyes.
With these simple tools, you’ll be ready to clean efficiently and keep your screens in top shape.
How to Clean Window Screens
Cleaning your window screens doesn’t have to be a hassle. Follow these easy steps to get them fresh and clear again—without damaging the mesh or frame.
1. Remove the Screens

Start by carefully removing each screen. Most window screens unlock, unclip, or slide out with a gentle lift. Avoid using too much force, as frames can bend easily.
To stay organized, label each screen with painter’s tape so you’ll know exactly which window it belongs to later. While removing, take a quick look for any damage such as small tears, holes, or bent frames. Fixing these issues now will save you trouble later.
Step 2: Pre-Cleaning: Dust or Vacuum

Before washing, knock off loose dirt. You can use a soft vacuum brush attachment to gently lift away dust, pollen, and cobwebs.
If you don’t have a vacuum handy, simply take the screens outside and give them a light shake. Don’t forget to vacuum the grooves of the window frames too—this helps keep dirt from transferring back onto your clean screens.
3. Wash With Soap & Water

Next, prepare a gentle cleaning solution. Mix a few drops of mild dish soap with warm water, or use a natural blend of 1 part vinegar to 3 parts water. Using a soft bristle brush, scrub both sides of the screen in circular motions.
Pay special attention to corners and frame edges, where dirt builds up the most. Be gentle—pressing too hard could stretch or damage the mesh.
4. Rinse Thoroughly

Once your screens are scrubbed, it’s time to rinse. Use a garden hose on low pressure or a shower head to wash away the soap and loosened dirt.
Be sure to spray both sides evenly. Leftover soap can leave streaks or a cloudy film that dulls your view, so rinse until the water runs clear.
5. Let Them Dry Completely

After rinsing, gently shake off excess water. Place the screens in a shaded area to air dry, or lean them upright against a wall for faster drying.
Avoid direct sunlight, which can warp frames over time. For a quicker finish, pat frames and edges with a microfiber towel—never rub too hard on the mesh.
6. Reinstall Carefully

When the screens are completely dry, carefully slide or clip them back into place. Make sure each one fits snugly with no gaps along the edges.
A tight fit not only restores your window’s function but also helps keep insects and dust outside where they belong.
Cleaning Without Removing Screens

Sometimes you don’t have the time—or the ladder—to remove every screen. For a quick refresh, you can clean them right in place. Start by using a vacuum with a soft brush attachment to lift away surface dust and pollen. Next, fill a spray bottle with a diluted mix of mild soap and water (or vinegar solution). Lightly mist the screen, then wipe gently with a microfiber cloth.
This method won’t give as deep a clean as a full wash, but it’s perfect for upper-floor windows or in-between maintenance. It helps keep air flowing and your view clearer without the hassle of removing each screen.
Tips & Best Practices
Keeping window screens in great shape isn’t just about washing them—it’s also about how you clean and care for them over time. Here are some pro tips to make the job easier and help your screens last longer:
-
Skip the pressure washer. High-pressure water may seem efficient, but it can stretch or tear the mesh. Always stick to a gentle spray.
-
Clean both sides and the frames. Dust and pollen collect on the frames too, and if you only clean one side, grime can transfer back onto the mesh.
-
Inspect as you go. Look for small holes, loose corners, or sagging mesh. Catching wear early helps you decide whether to repair or replace before it becomes a bigger problem.
A little extra care during cleaning goes a long way. By following these practices, you’ll keep your screens clearer, stronger, and working better for years.
Special Cases & Troubleshooting

Not all window screens are the same, and sometimes they need a little extra care. Here’s how to handle tricky situations:
-
Stubborn stains or grease. If regular soap and water don’t work, try a mild degreaser. Apply it carefully with a soft cloth and rinse right away to avoid residue.
-
Different screen materials. Aluminum, fiberglass, and coated mesh each react differently to cleaners. Always use a solution that’s safe for the material—harsh chemicals can corrode aluminum or strip protective coatings.
-
Torn or sagging screens. If you see holes, rips, or sagging mesh, it’s usually best to replace the screen. Small tears can sometimes be patched, but larger damage means a new screen will save you time and frustration.
By matching the right cleaning approach to the right material and knowing when to repair or replace, you’ll keep your screens looking good and working effectively.
Ready for Cleaner, Clearer Windows?

Fresh air and sunlight are always better through spotless screens. If yours need more than a quick clean—whether it’s deep cleaning, repair, or full replacement—we’re here to help. Our team provides reliable solutions that keep your windows looking and working their best.
Contact us today to schedule service or request a free consultation. Let’s make your windows shine again.
FAQs
What is the best way to clean window screens?
Remove the screens, vacuum or shake off loose debris, then wash gently with warm water and mild dish soap (or vinegar mix), rinse well, and let them air-dry.
How to make window screens look new again?
Clean both sides thoroughly, rinse until no residue remains, trim or repair any tears, and reinstall them snugly—fresh screens look clearer and let in more light.
Can you clean window screens without taking them off?
Yes—use a vacuum with a soft brush, spray a diluted cleaner, and wipe gently with a microfiber cloth for quick maintenance.
What can I spray on window screens to clean?
Use a gentle mix like mild dish soap in warm water, or a diluted vinegar solution (1 part vinegar to 3 parts water).


